Help Joe Get a New Pancreas

Wednesday, August 25, 2010

Plush Team Does Vegas!

Make sure you head on over to Plush Team today to vote in their July/August challenge Plush Vegas. Here is a quick rundown of the challenge from their site:

"The Plush Team's July/August challenge was Plush Vegas and team members have been busily preparing pieces to compete in the following three categories:

  • Show Biz - Entertainers, showgirls, magicians, animal acts etc.
  • Gaming - Slots, blackjack, poker, roulette etc.
  • Neon - Signage in all its gaudy glory"
Head on over and check out the entries as they are super awesome!

This contest inspires me to create some vegas inspired Ami....maybe something to add to my que of WIPs! Maybe magicians and magicians assts., elvis impersonators, or casino items...what about you?

WIPW: Week 3 - Papa Smurf Final

Well its Wed again follks and I have a finished project to share with yall!!!

Drum roll please..................................

'PAPA SMURF'


'Papa Smurf' Final


Well...what do you think? I think he looks AWESOME!!!

I preoccupied myself with finishing him up so that I could share him this week. I am pleased with the results.
Here are a few more pics:

Face detail


Lower body detail


Back view


Tail detail


Size comparison


Measurement - stands roughly 7" tall


I hope everyone enjoyed following this WIP. Now the dilema....what do I do next in my line of 80s cartoon amigurumi? I have created a poll on the main page of my blog for this. So help me out by leaving a comment here or voting on my poll. Voting closes Tues 8/31 at 11:59PM. I will reveal the results next Wed on my WWIP!

Thanks!

Thursday, August 19, 2010

WIP -- Papa Smurf cont...

Well...I got a bit further on my 'Papa Smurf' WIP:

THE ARMS:

These measure close to 2". I stuffed them with pipe cleaners so they can be posed. Here is a pic:

'Papa Smurf' Arms


THE LEGS:

These measure close to 1"1/2. I stuffed them with poly pellets for added weight to support the head and body after construction. Here is a pic:

'Papa Smurf' Leg


THE FEET (SHOES):

These were a bit tricky to figure out, but I think when they are sewn to the legs and constructed they will make more sense. I might have to alter the size for stability and weight support during final construction which still remains to be seen. Here is a pic of them as they are now:

'Papa Smurf' Foot/Shoe


THE HAT:

I added a spiraled pipe cleaner to the tip of the hat for shaping purposes. I think it turned out cute! Here is a pic:

'Papa Smurf' Hat


THE MOUSTACHE/THE BEARD:

'Papa Smurfs' beard gave me the most headache and I worked on it for over 3 hours. I can't tell you how many sketches and frogging was done in the process. What I finally ended up with was a moustache and a separate beard. I can't believe how awesome and tough they look! Here are the final pieces:

'Papa Smurf' Moustache


'Papa Smurf' Beard


...and now for a sneak peak of 'Papa Smurf'!!!!!:

'Papa Smurf' pre-sew head & body


AND...

'Papa Smurf' pre-sew layout


Now...I just need to add felt details, and sew this sucker together. I will keep you posted!!

Wednesday, August 18, 2010

WIPW: Week 2

Well...I have a new project this week. I have not finished up the bat ornament from last weeks WWIP, but I am close. I will post the fo soon...I promise.

Now on to my latest WIP:

'PAPA SMURF'

1st of I will state that I am def a product of the 80's...what does that mean you ask? Well I tend to love all things totally cheezy and rad including 80's cartoons. If you are like me you might agree that cartoons today just aren't the same as they were in the 80's. Now don't get me wrong I LOVE me a good animated feature, including anime, esp if it is from Studio Ghibli. I am just saying that some recent cartoons just don't do it for me.

Ahh...the Saturday morning Cartoon. Thinking back to my youth there wasn't a week that went by when I was growing up that I did not wake up on Saturday morning to start my weekend off with a daily dose of cheezeball cartoons, and frankly I miss them...From Fraggle Rock and Rainbow Brite, to He-Man and The Smurfs; From Gummi Bears and Transformers, to Inspector Gadget and even Jem! Wow! I feel like I just got hit head on by a virtual Mack truck of nostalgia! So....I came up with the idea this week to go back in my little time machine.

My 1st project in my line of 80's cartoon Amigurumi is the ever-immortal "Papa Smurf." I figure what better place to start than with the 542 year old leader of the smurf village!


'Papa Smurf' picture from wikipedia.org

This image is an illustration of a character or characters in a comic book, video game, or animated television program or film. The copyright for it is most likely held by either the publisher/producer and/or artist(s) producing the work in question. It is believed that the use of low-resolution images of character artwork:

for commentary on the character or characters in question,

on the English-language blog: http://kissingtoast.blogspot.com/ qualifies as fair use under United States copyright law. Any other uses of this image, on this blog or elsewhere, may be copyright infringement.


And now on to the project:


MATERIALS LIST:
1. Light blue worsted weight yarn
2. Red worsted weight yarn
3. White worsted weight yarn
4. White Felt
5. Black Felt
6. Salmon/pink Felt
7. Felt Glue
8. Poly/Fiber Fill
9. Embroidery Needle
10. 2-10mm black safety eyes
11. 3 pipe cleaners

THE HEAD:
Using the light blue yarn I created a basic Amigurumi head in the round. Before my final decreases I added 2 small 10mm black safety eyes. Then I stuffed the head and fastened off. Here is the progress so far:

'Papa Smurf' head with safety eye detail


THE EARS:

I fashioned 2 basic amigurumi ears in the round. Pretty basic. I will need to wait until I finish all the head details before I can attach the ears, but here is a pic of them:
Papa Smurf' ears


Well...that is it so far. I am super excited about this project. If you would like to follow the project closer and for more details on patterns and materials used please check me out on Ravelry! If you have any suggestions or comments I would love to hear it!

Wednesday, August 11, 2010

Work In Progress Wednesday!! or....WIPW: Week 1

Welcome to my Work In Progress Wednesday Blog or WIPW!!!


I have decided to document a few of my works in progress (WIP) every Wednesday on the encouragement of Tami's Amis blog. In addition to Tami's WIPW's There will be a list of other crafters WIPW's linked on her site. You can read the 1st WIPW blog post here! This is a great idea IMO for us to share our progress on various projects within the community and to get feedback, constructive critisiscm, and encouragement from fellow crafters. I think this will also help to personally motivate me to finish any stagnant or stale projects. I know I have a few that have been sitting around a bit longer than they should. So here we go...

WIP #1:

Bat Ornaments

I have decided to make a series of bat accessories to sell locally (and maybe online later :)) to commemorate my city's unofficial mascot...the Mexican free-tail bat. The Congress Avenue Bridge in Austin, TX is the summer and spring home to some 750,000 - 1.5 million bats making it the largest urban bat colony in North America. Seasonal "bat watching" has become so popular within our city that we have an annual bat festival dedicated to them. You can read a bit more about the Austin colony here.  Check out the pic at the end of the post to see the bats in action!!


To start the project off I just made a simple amigurumi head for the "bat body"


"Bat Body"

I plan on alternating facial expression by using safety eyes vs buttons and might experiment with some eyes made of sculpey or maybe felt. This will offer a variety of expressions and individuality from bat to bat.

For the wings I have adapted a fairly simple wing pattern to attach to the sides of the bat body. See Below:


Bat body with wing placement

I have also included a photo of the wing detail up-close.

Bat Wing detail


I plan on expanding this project to include an entire line of bat ami's to accompany the bat ornament. Plans include necklaces, earrings, and fridge magnets.

Any comments or suggestions would be greatly appreciated!!

In addition to this blog you can also follow my progress on Ravelry!


Emergence of the bats of the Congress Avenue B...Image via Wikipedia

Saturday, August 7, 2010

Plush Team August Giveaway!

Well...it is time for yet another Plush Team August giveaway! Woo Hoo! If you are not familiar with their blog...you SHOULD be! Hop on over there now...

So here is a bit about this months giveaway:

"The Plush Team's August giveaway is hosted by none other than Absolutely Small! Perhaps better known as the creative madness behind Chicken Pants, Absolutely Small is offering Agnes the Magpie for this month's plush prize!"

She is adorable:


Agnes the Magpie!


Here is a direct link to enter the Augus giveaway for your very own Agnes!

Sunday, August 1, 2010

Follow my Traveling Creature Laboratory! The Adventures of Gruesilla...

So if you have been following this blog I recently joined a Ravelry Group called the Traveling Creature Laboratory. You can read more about them here or in my previous post from Wed July 28th 2010. Here are the group details...

GROUP DETAILS:


Hello there, welcome to the lab and see what’s on the slab! We’re creating creatures of all sorts, most aren’t even of this earth. We’re a traveling amigurumi group in hopes of going viral. Join us, it’s fun!

I have joined current Circle #5 as of yesterday. I will be posting my progress within the current project here in my blog.
 
WARNING!!!
 
If you are currently a part of this trading circle #5 as a warning there will be spoilers here on my blog detailing the progress of work with all the creatures I receive. So if you wish to be suprised dont look at the pictures I post of your creatures. I will put a spoiler link in the title of any blog that has photos or detailed descriptions of the progress. For all others please enjoy and stay tuned for the adventures of the Traveling Creature Laboratory.
 
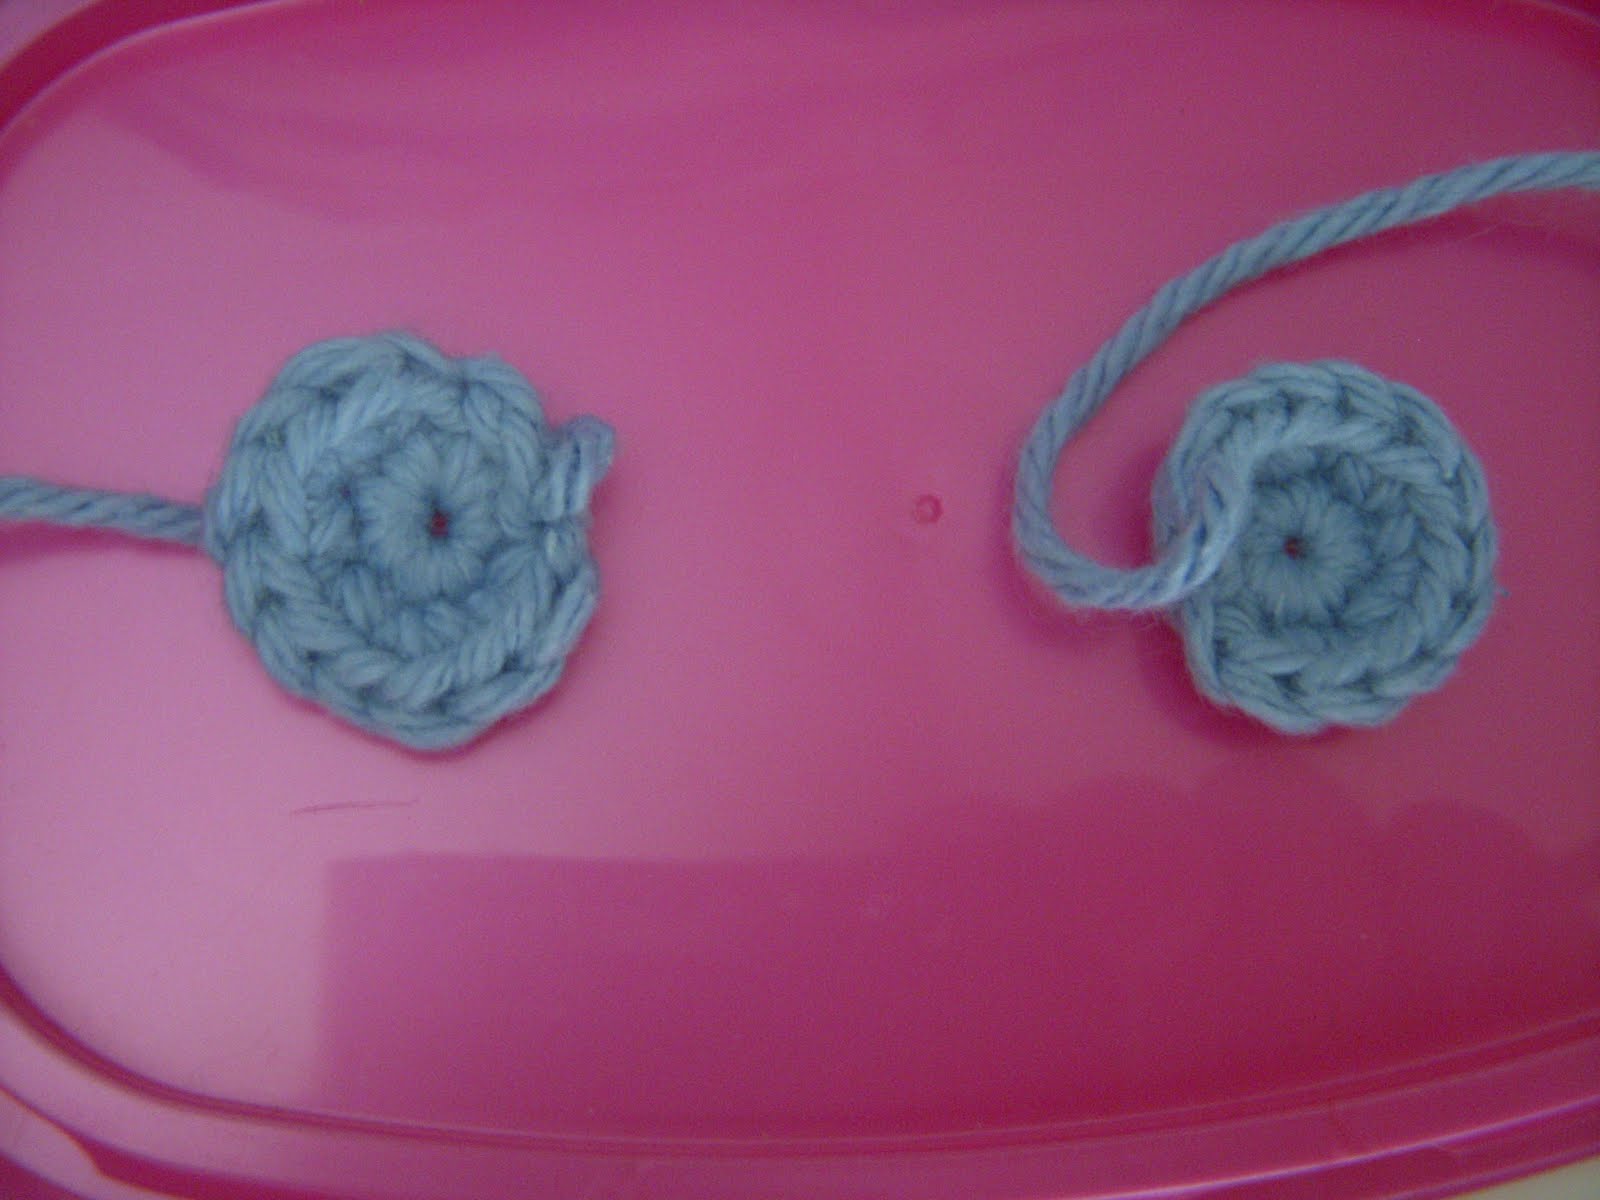
So meet Gruesilla...
 
She is my creature that I will be sending all over the world to be completed. Here is her story.
 
Please help!
Gruesillas bits and pieces have gone missing! She is my most precious creation and now she is incomplete. I am lost without her, and need your help to get her back! I will be sending her body along to a neurologist who will give her her head and facial features back.
 
Stay tuned!

Gruesilla's Body

 
My nametag to identify her as she goes around the world!