Help Joe Get a New Pancreas

Showing posts with label WIP. Show all posts

Tuesday, June 26, 2012

Secret Project #2 WIP #2

So here is a little recap about my Secret Project WIPs...

I had a lot of fun with my last Secret WIP posts that I thought I would start up another round here. Quite a few of my friends/family have caught baby fever over the past year and lil ones are popping up all around me. My last Secret FO was an 'Under the Sea' themed baby mobile that was unveiled at my Sister in Laws baby shower. Here it is installed in Nora's room:

Under The Sea

I am super excited about my next Secret WIP for the next lil one! I plan on posting the components of the project here as they are completed. I cannot unveil exactly what I am cooking up, since it is a gift, but it will be fun posting lil "glimpses" of the project along the way,


Her is the first glimpse that I unveiled in my last post:


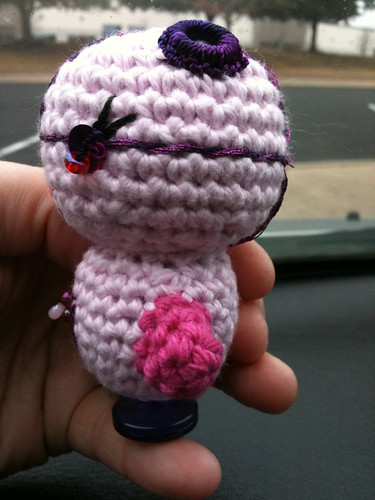
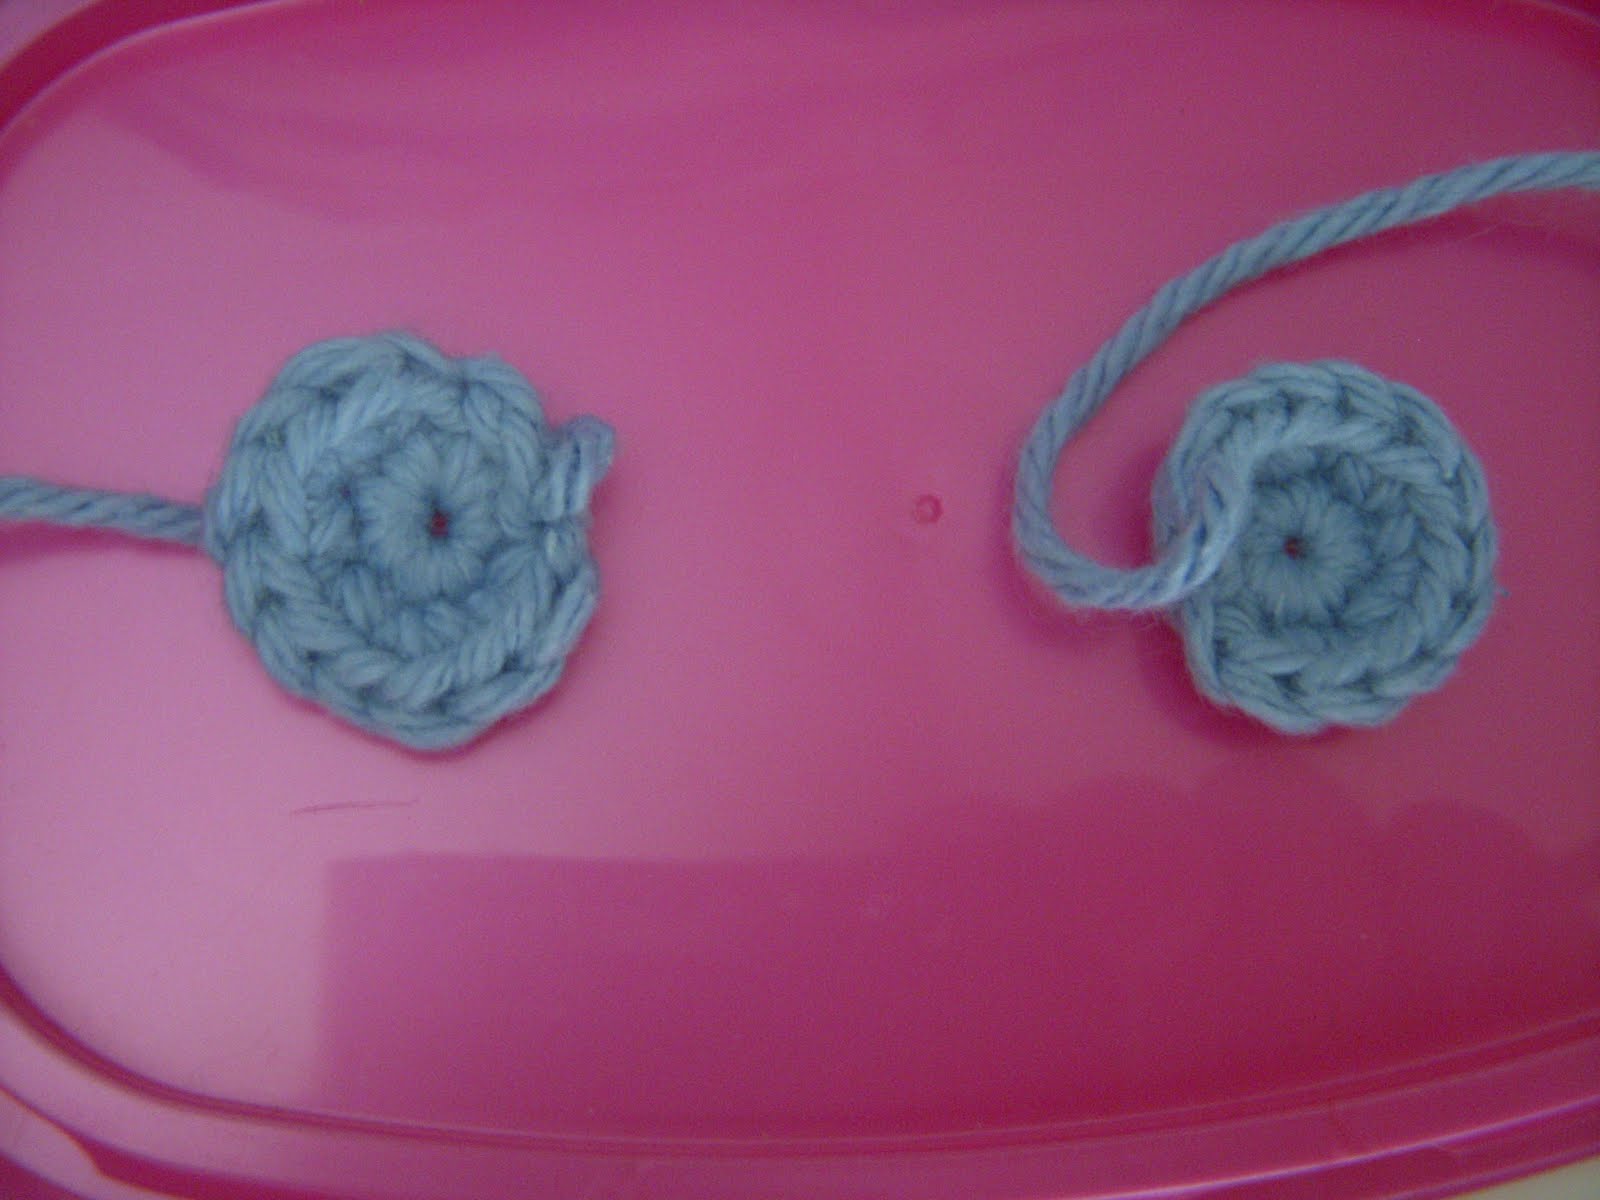
Hint...There are two of these!

And on to the next glimpse:

Eye C U!

Here is one more hint...this is also a creature of the sea! I am almost finished with this lil cutie & hope to post the FO here for all to see soon!


Stay tuned for more to come!!!!

Thanks for reading.

Friday, June 8, 2012

Secret Project #2 WIP


I had a lot of fun with my last Secret WIP posts that I thought I could start up another one here. Quite a few of my friends/family have caught baby fever over the past year and lil ones are popping up all around me. My last Secret FO was an 'Under the Sea' themed baby mobile that was unveiled at my Sister in Laws baby shower. I am super excited about my next Secret WIP for the next lil one! I plan on posting the components of the project here as they are completed. I cannot unveil exactly what I am cooking up, since it is a gift, but it will be fun posting lil "glimpses" of the project along the way.

Here is the first glimpse:

What could it be?

The picture is a bit dark, but this is the start of the Amigurumi.


Stay tuned in for further glimpses of my new Secret WIP!!!


Thanks for reading.

Sunday, April 22, 2012

Secret Project WIP #4


My most recent set of WIPs (that I am highly anticipating I might add,) are components leading to a special gift for a special someone. This WIP is comprised of multiple Amigurumis. I plan on posting the components of the project here as they are completed. I cannot unveil exactly what I am cooking up, since it is a gift, but it will be fun posting the little bits along the way.

My last post detailed the FO, Mr Dolphin. I decided to make the dolphin sea green/blue as opposed to grey as Dolphins usually are. I really like the color of the yarn and figured I would be a little playful with the pattern.

The pattern for this dolphin can be found in Annie Obaachan's book, Super Cute: 25 Amigurumi Animals. This was the first Amigurumi crochet book I purchased when I first started to crochet, and it is still a standard of mine. I highly recommend it, as the patterns are easy to follow for a beginner, and has some great tips for Ami construction (even for an experienced crocheter.)

For this post I am going to unveil 2 more components of this super secret WIP!!!

Lil Seahorse & Starfish!!!!

Lets start with the Lil Seahorse first:


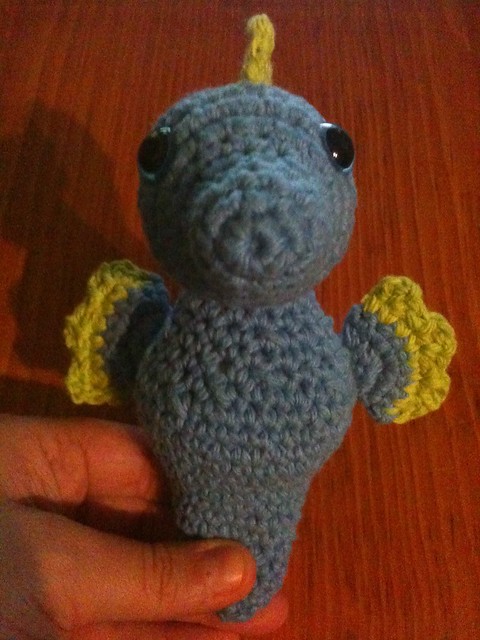
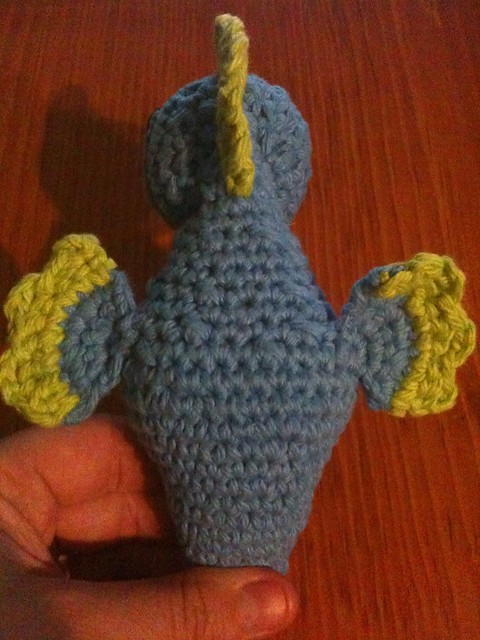
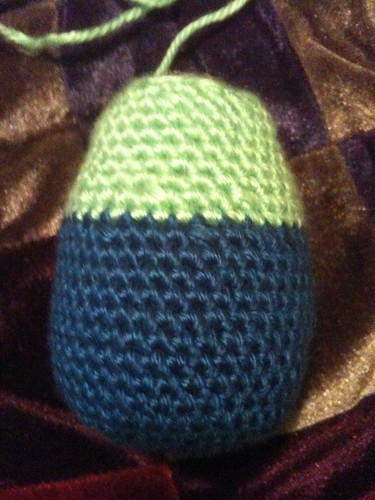
This was the first seahorse ami I have ever made. I found the pattern from the blog Mausica's Magical Menagerie. This pattern is super cute & was simple and a blast to make. I decided to make the seahorse baby blue and lime green. I like the colors and thought they would complement each other and the rest of the  components of the overall project. Here are a few pics of the FO:
Lil Seahorse FO
Lil Seahorse (Back View)
Lil Seahorse FO (Side View)
Now for the 2nd FO for this Super Secret WIP...a super adorable Starfish:
"Betta Treasures Seahorses Victorian Brass Aquarium"

The Starfish was a really challenging Ami to figure out. The components (the star points) and the center piece(s) (the body) were easy enough to make, however, the making up of the Ami was a bit on the difficult side. I found the pattern here. After creating each star point and the front and back side of the starfish body, you have to sew six stitches from each of the star points onto a body panel. This takes some trial and error to make sure they are evenly spaced. You then need to stuff the star points before you sew the back panel of the center piece onto the other sides of the starpoints. You then have to stuff the body before you completely sew up the Starfish. I will include a few pics of the WIP so that the words have some context:

Starfish FO
Back side of Starfish before stuffing star points


Stay tuned in a day or two for the unveiling of FO of my Super Secret WIP!!!

Thanks for reading.

Wednesday, January 19, 2011

WIPW: Week 24


Well...it has been a while since my last blog post (which was the week before xmas!) I took a much needed break from the crochet world, as I felt I was overworking myself to finish soooo many WIPs in the weeks leading up to xmas. I tell you , I crocheted down to the wire, i.e., xmas eve! I have not stopped crocheting by any means, but I have been fair to myself, by not imposing too many deadlines that are stressful! That being said, I have a few WIPs and FOs to share with you all this week :)

1st FO for 2011:
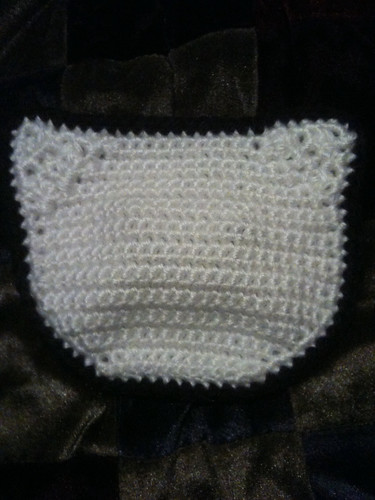
BUTTERFLY HAT

Well...I can't believe that it is a new DECADE! 2011...wow! There are quite a few bdays in my family in January (including mine ;) and that being said, a few gifts that just had to be made. The 1st of the projects I started on and finished within a day to get them ready for my Sis-In-Law's bday, which was on January 8th.

Her fav color is HOT PINK, so it was easy to choose a color scheme. I used Red Heart Shimmer in Hot Pink #1715.


The yarn is 97% acrylic and 3% metallic polyester.

Now, deciding on what to make her was a bit tricky. She loves accessories, and has been trying out some new short hair stylings. I immediately thought that she would look adorable in a 30s flapper/cloche style hat. I researched the MANY, MANY patterns that are available on Ravelry, and finally decided on Olivia's Butterfly by Valerie Whitten. The little butterfly detail would be adorable! I read over the pattern and realized that the hat was made for a child, so I had to tinker with the pattern a tiny bit to make it large enough for an adult size. It wasn't too difficult, as I just added 2 more rounds of increase to the pattern. For the finishing touches I added a pink crystal bead to the center of the butterfly detail, to add a bit more bling to the hat.

Here is a pic of it:


...and I was right....
It does look adorable on her.

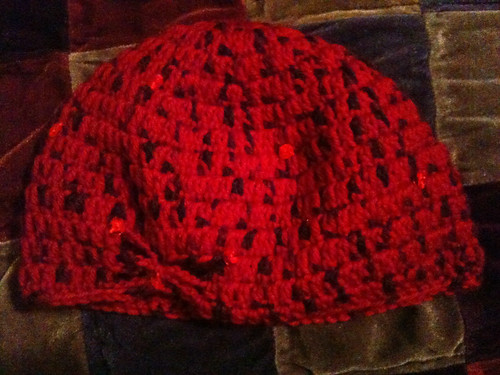
My 2nd FO for 2011 came about the same night that I finished the butterfly hat. My Mother loved it so much, that I just had to whip up one for her. I received a red/black ombre hand-dyed wool yarn for Xmas, and figured it would be perfect for her. To add a little bling to my Mothers version of the hat, she requested I add random red sequins throughout the hat. I really enjoyed the effect.

Here it is:

Mothers Butterfly Cloche


3rd FO for 2011:
GIRLIE BOT

I decided to make a 2nd gift for my Sis-In-Law, something a little bit fun, that she could keep on her desk at work. Naturally I decided to make her an Amigurumi. There is a funny story behind the Ami that I created for her. For Xmas, she and my brother, picked out an adorable Amigurumi book on Crocheted Robots. It is called Crobots, and is one I have been wanting for a while now.

Before I got around to opening the package, I opened a package from my Mother that included, what else, the Crobots book. My Sis-In-Laws face nearly sunk to the ground. I mean of all the books on Amigurumi in the world, and they had both bought the same one. I thought it would be a nice tribute to make her one of the Crobots from the book.

It was easy to pick which one...

The Girlie Bot!!!

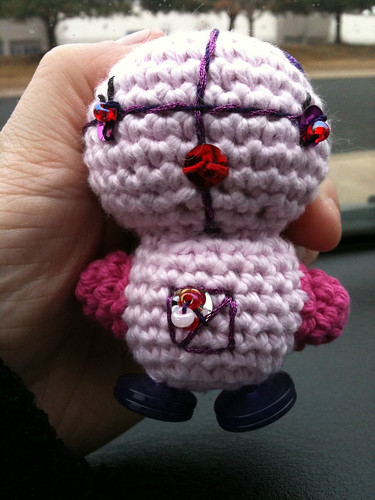
It was a ton o fun to add all the sequins, and seed beeds as embellishments on this little cutie!!! Again, I used pink/hot pink as the color pallette.

Here is the FO:


'Girlie' Bot
'Girlie' Bot side view
4th WIP for 2011:
BONITA HAT

My cousin Kims bday was Jan 18th, so I decided to make another Bonita Hat. I am just in love with the simple, but intricate styling of this hat. I decided to make her a sporty version of the hat. I had to frog the 1st attempt, due to a sizing error, so I am starting over. But I plan to alternate bands of hot pink/white throught the middle part of the pattern. I showed her a sneak peak of the hat for her bday when we went out to lunch together. I think she will like it.

5th FO for 2011:/
XMAS GIFT #8: (WIP)
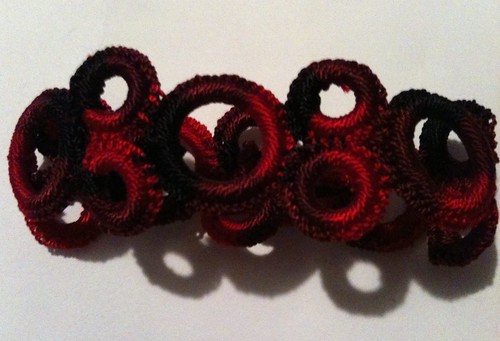
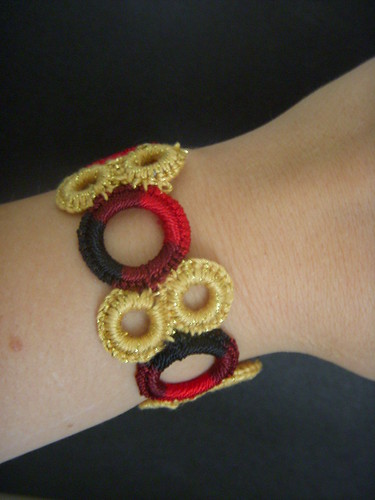
CROCHET RING BRACELET


I am so glad I finally finished this WIP! I blogged about it back in December here. I have been working on getting it finished since October! A while back I made a ring bracelet for my Mother. My Aunt Joann really admired it when she saw the one I made for my Mom, that I had decided to make one for her for her Bday. That was waaaaay back in October. (YIKES!!!) I just got so wrapped up in the XMAS frenzy, that it got pushed further, and further back. Well, I am happy to say that it is finished, finally! I can't wait to get it to her.

Here is a pic of hers:


Crochet Ring Bracelet
I am pretty excited about a few upcoming WIPs I have planned.

Future WIP #1:
HAT/SOCKS

My Father's bday is at the end of the month and I plan to make him a lush hat out of some beautiful Pima Cotton I have my eyes on at the LYS. If I have time I also plan to make him a pair of socks to go along with the hat. He is newly retired so it would be a nice jesture to make him some comfy socks to lounge around the house in.

Future WIP #2:
FILMSTRIP BEANIE

My brothers bday is coming up in March. He is a photographer/filmmaker. He has been requesting a film strip inspired beanie from me ever since I started crocheting. I have not written up a pattern for a beanie hat yet, so this will be a challenge for me. I have some rough sketches done of how I want the beanie to look, and I think it will be awesome, if I can figure out the measurements/technicalities. Hopefully I will have something on this WIP started soon.

Happy New Year to all, and Happy Crafting!!!

Thanks for Reading :)

Wednesday, December 1, 2010

WIPW: Week 17


Well this week has been a bit busy, so I havent had a ton of time to work on my ever-growing Xmas gift lists, but I did have a bit of time last nite to at least get a few things done....WHEW!!!

1st things 1st:

XMAS GIFT #3: (FO)
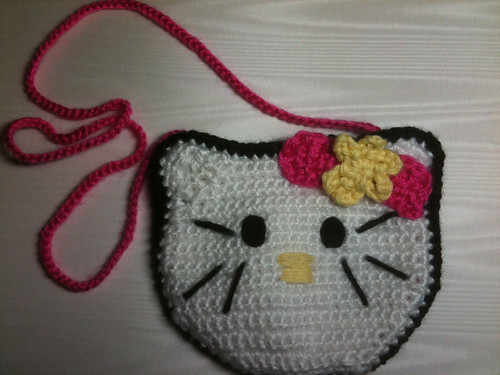
HELLO KITTY PURSE


I am proud to say that I FINALLY finished the Hello Kitty purse I have been blogging about the last coupla weeks! It was a challenging project for me because it incorporated a little bit of sewing, including snap attachments and purse lining. I have never practiced much with sewing, my only experience comes from a bit of knowledge in cross-stitch! I am proud to say, that while it is far from perfect, it turned out OK, and now I am a "tad" more comfortable with stitching by hand.

Here is a pic of the lining and snap attached leading up to the FO:
Lining and snap button detail for inside of Hello Kitty Purse


...and the FO!

Hello Kitty Purse: FO
 I also was able to finish a few more components for my Luigi (from the famous SuperMario Bros) Ami. I really wanted to be able to finish this project up this week, but there wasn't enough time. Next week I should be able to finish up the last few components (1 leg, the hat, and the hair/sideburns) and assemble the Ami!!

XMAS GIFT #6: (WIP...cont)
LUIGI

THE LEG:

Luigi Leg


THE SHOE:

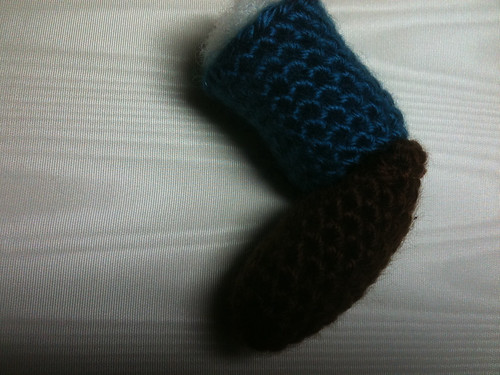
Luigi Shoe


THE LEG WITH SHOE ATTACHED:

Luigi Leg with Shoe attached


THE SUSPENDERS:

Luigi Suspenders


THE ARMS/GLOVES:

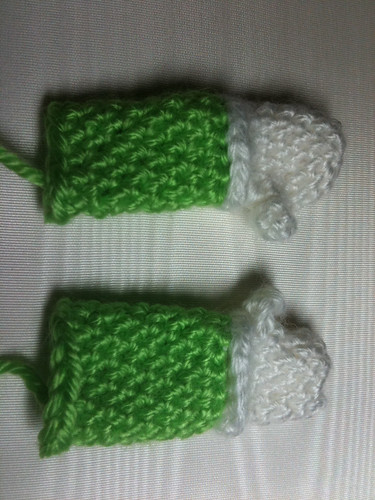
Luigi Arms/Gloves


XMAS GIFT #9: (WIP)

SNOWMAN

I decided on making a little snowman Ami for one of my grandmothers for Xmas as well. Christmas is a big holiday in my family and my grandmother never skimps on the holiday decorations. This little snowman will be perfect for a table centerpiece or just to place on the mantle. I think she will like it. I started this late late last night, so I was only able to complete the head with the safety eyes attached, minus the facial details. I am once again using I am using Lion Brand Wool-Ease Glitter yarn in White/Multi for the scarf project. It is a perfect holiday yarn with that touch of glitter/shimmer!


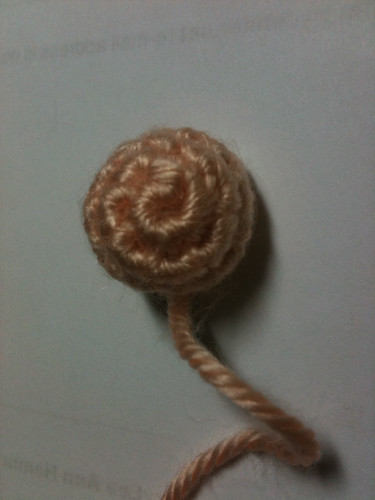
THE HEAD:
Snowman Ami


Well...that about wraps it up for me this week. I am glad I accomplished finishing the Hello Kitty purse! It is going to be a great gift for my lil cuz! Hopefully next week I will have a Luigi and a Snowman FO!!!
 
Thanks for reading!!

Wednesday, November 24, 2010

WIPW: Week 16

Another week...Another WIP!!!

Well....1st things 1st....

Happy Thanksgiving to those who celebrate! Be safe and have a wonderful Holiday Week :)
I finished my 1st scarf ever!!! If you read along last week I ventured into scarf making territory. It seemed simple enough, but I was still a bit nervous because all I crochet these days tends to be Amigurumi. I think it turned out neat. Here is a pic:

XMAS GIFT #2: (FO)

TULIPS SCARF:

Tulips Scarf


It is folded over so it is actually twice as long as the picture shows, but I didnt have a model tonight to get the full length in a photo. The scarf measures 65".

Now for a bit of advice for any readers out there.

The pattern calls for 'blocking' the scarf. From what I have read it is advantageous to block a scarf for the following reasons:
  1. Reduce curling, straighten edges and make sewing up easier.
  2. Get rid of slight variations in length or width between two pieces that should match.
  3. Open out a fabric, such as lace, to show off the patterning.
  4. Smooth the surface of the knitting and make the stitches more even.
  5. Adjust the shape of the finished garment or reshape it after washing.
'Blocking' scarf consists of the following steps: (Thanks to Salihan Crafts for the tutorial)


HOW TO BLOCK A KNITTED SCARF

You’ll need wool detergent, a sink, washing machine, pillow case, a large flat surface like a bed and rust-proof pins.

1. Wash

Fill tub or sink with warm water and add a little wool detergent. (Check the bottle label for exact measurement.) Soak scarf in warm soapy water for 5 minutes. After 5 minutes, roll the scarf gently while still in the water and pick it up in your hand. Make sure to support it well. Place aside.

2. Rinse

Empty tub and refill with lukewarm water. Place scarf back into the water and unroll. Swoosh the scarf around lightly in the water.

3. Spin

Get your pillowcase ready. Roll the scarf underwater and pick it up in your hands. Squeeze as much water out as possible. Place rolled-up scarf into a corner of the pillowcase (I use a bolster case). Tie a knot so that the scarf is squashed into the corner and will not move around. Set washing machine into spin cycle. Spin on fast speed.

4. Blocking

Carry the pillowcase to a large flat surface like a clean bed. Take the scarf out and unroll it onto the bed. Carefully stretch the wet knitted scarf out onto the bed to about the width and length that you want. You may wish to stop at this point if you are satisfied with the way it looks and leave the scarf to dry completely.
However, you may need to pin the knitted scarf in place to really show the pattern and get the right size. This is especially so in lace knitting. Using rust-proof or dressmakers’ pins, pin along the edges of the damp scarf. Use as many pins as needed to keep the edges straight and even. Dry the scarf completely before removing pins. You have successfully blocked a scarf!

Questions:
  1. Is it necessary to block a crocheted scarf?
  2. Can blocking a scarf distort the pattern by stretching the material out?
  3. How much longer will the scarf stretch to after blocking? Mine is already measured at 65" and I am worried that if I block the scarf it will reach to the floor
If anyone has any suggesstions let me know :)

Now onto my new WIPs:

XMAS GIFT #3: (WIP...cont)
HELLO KITTY PURSE

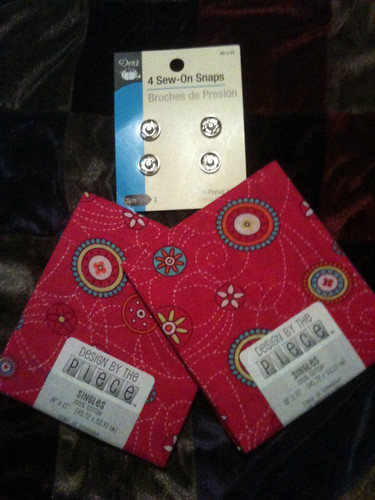
I havent made a ton of progress on this from last week, because I had to go to the fabric store to get some material to line the purse, and a snap closure. I did get the back panel finished tho! All I have left is to sew the lining to the insides of the front/back panels, sew on the snap, and complete the strap. I should have it finished by next WIPW!


Here is a pic of the back panel and the lining material I picked out:

Purse lining/snaps


Hello Kitty purse back panel


XMAS GIFT #6 & #7: (WIP)
MARIO & LUIGI

For my Nephew I have decided to make everyones favorite Italian brotherly duo....Nintendo's Super Mario Brothers...Mario & Luigi! He is really into the late 80s cartoon, The Super Mario Bros. Super Show!


Yes...the one starring "Captain" Lou Albano as Mario for those of you who remember the show.


I once again have fallen back on utilizing patterns from Linda Potts of WolfDreamer off the Hook. Linda has some AMAZING videogame and cartoon related designs on Ravelry and her site. If you have a chance I highly recommend you stop by and browse her work.

XMAS GIFT #6: (WIP)
LUIGI


'Luigi' picture from wikipedia.org

This image is an illustration of a character or characters in a comic book, video game, or animated television program or film. The copyright for it is most likely held by either the publisher/producer and/or artist(s) producing the work in question. It is believed that the use of low-resolution images of character artwork:

for commentary on the character or characters in question,

on the English-language blog: http://kissingtoast.blogspot.com/ qualifies as fair use under United States copyright law. Any other uses of this image, on this blog or elsewhere, may be copyright infringement.

Here are a few pics of my progress so far on the Luigi Ami:

THE HEAD:
Luigi Head (minus details)


THE TORSO:
Luigi Torso


THE NOSE:
Luigi Nose


THE EARS: (2)
Luigi Ears


THE MUSTACHE:
Luigi mustache


XMAS GIFT #8: (WIP)
CROCHET RING BRACELET

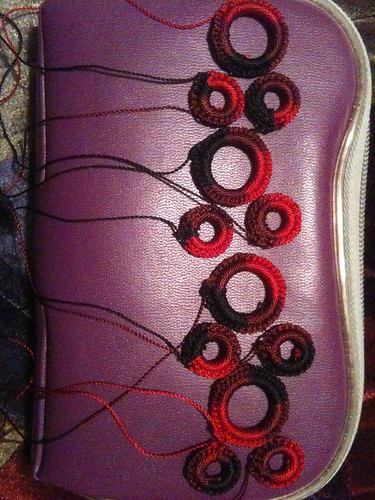
The Crochet Ring Bracelet is something that I have made before, and is one of my favorite gifts to make for the women in my family. It is super simple, consisting of only sc's into the center of an 'o' ring,  and doesnt take very long to make.

Materials:

Crochet thread
(I like to use Omega Hilo 100% Nylon thread)
Plastic 'o' rings
small amount of jewelery wire (for clasp)
Here is a picture of the WIP followed by a picture of a FO of a previously made crochet ring bracelet

Crochet Ring Bracelet WIP

Previous FO -- Crochet Ring Bracelet

Well....that about does it for this week! Whew....
Hopefully I will have finished my Hello Kitty Purse, Luigi, and Crochet Ring Bracelet by next Wed, and be ready to start on my Mario!

See you next week, and thanks for reading!!!

Wednesday, August 18, 2010

WIPW: Week 2

Well...I have a new project this week. I have not finished up the bat ornament from last weeks WWIP, but I am close. I will post the fo soon...I promise.

Now on to my latest WIP:

'PAPA SMURF'

1st of I will state that I am def a product of the 80's...what does that mean you ask? Well I tend to love all things totally cheezy and rad including 80's cartoons. If you are like me you might agree that cartoons today just aren't the same as they were in the 80's. Now don't get me wrong I LOVE me a good animated feature, including anime, esp if it is from Studio Ghibli. I am just saying that some recent cartoons just don't do it for me.

Ahh...the Saturday morning Cartoon. Thinking back to my youth there wasn't a week that went by when I was growing up that I did not wake up on Saturday morning to start my weekend off with a daily dose of cheezeball cartoons, and frankly I miss them...From Fraggle Rock and Rainbow Brite, to He-Man and The Smurfs; From Gummi Bears and Transformers, to Inspector Gadget and even Jem! Wow! I feel like I just got hit head on by a virtual Mack truck of nostalgia! So....I came up with the idea this week to go back in my little time machine.

My 1st project in my line of 80's cartoon Amigurumi is the ever-immortal "Papa Smurf." I figure what better place to start than with the 542 year old leader of the smurf village!


'Papa Smurf' picture from wikipedia.org

This image is an illustration of a character or characters in a comic book, video game, or animated television program or film. The copyright for it is most likely held by either the publisher/producer and/or artist(s) producing the work in question. It is believed that the use of low-resolution images of character artwork:

for commentary on the character or characters in question,

on the English-language blog: http://kissingtoast.blogspot.com/ qualifies as fair use under United States copyright law. Any other uses of this image, on this blog or elsewhere, may be copyright infringement.


And now on to the project:


MATERIALS LIST:
1. Light blue worsted weight yarn
2. Red worsted weight yarn
3. White worsted weight yarn
4. White Felt
5. Black Felt
6. Salmon/pink Felt
7. Felt Glue
8. Poly/Fiber Fill
9. Embroidery Needle
10. 2-10mm black safety eyes
11. 3 pipe cleaners

THE HEAD:
Using the light blue yarn I created a basic Amigurumi head in the round. Before my final decreases I added 2 small 10mm black safety eyes. Then I stuffed the head and fastened off. Here is the progress so far:

'Papa Smurf' head with safety eye detail


THE EARS:

I fashioned 2 basic amigurumi ears in the round. Pretty basic. I will need to wait until I finish all the head details before I can attach the ears, but here is a pic of them:
Papa Smurf' ears


Well...that is it so far. I am super excited about this project. If you would like to follow the project closer and for more details on patterns and materials used please check me out on Ravelry! If you have any suggestions or comments I would love to hear it!

Wednesday, August 11, 2010

Work In Progress Wednesday!! or....WIPW: Week 1

Welcome to my Work In Progress Wednesday Blog or WIPW!!!

I have decided to document a few of my works in progress (WIP) every Wednesday on the encouragement of Tami's Amis blog. In addition to Tami's WIPW's There will be a list of other crafters WIPW's linked on her site. You can read the 1st WIPW blog post here! This is a great idea IMO for us to share our progress on various projects within the community and to get feedback, constructive critisiscm, and encouragement from fellow crafters. I think this will also help to personally motivate me to finish any stagnant or stale projects. I know I have a few that have been sitting around a bit longer than they should. So here we go...

WIP #1:

Bat Ornaments

I have decided to make a series of bat accessories to sell locally (and maybe online later :)) to commemorate my city's unofficial mascot...the Mexican free-tail bat. The Congress Avenue Bridge in Austin, TX is the summer and spring home to some 750,000 - 1.5 million bats making it the largest urban bat colony in North America. Seasonal "bat watching" has become so popular within our city that we have an annual bat festival dedicated to them. You can read a bit more about the Austin colony here.  Check out the pic at the end of the post to see the bats in action!!


To start the project off I just made a simple amigurumi head for the "bat body"


"Bat Body"

I plan on alternating facial expression by using safety eyes vs buttons and might experiment with some eyes made of sculpey or maybe felt. This will offer a variety of expressions and individuality from bat to bat.

For the wings I have adapted a fairly simple wing pattern to attach to the sides of the bat body. See Below:


Bat body with wing placement

I have also included a photo of the wing detail up-close.

Bat Wing detail


I plan on expanding this project to include an entire line of bat ami's to accompany the bat ornament. Plans include necklaces, earrings, and fridge magnets.

Any comments or suggestions would be greatly appreciated!!

In addition to this blog you can also follow my progress on Ravelry!


Emergence of the bats of the Congress Avenue B...Image via Wikipedia